Gelatine treats me like a lover who’s scorned him. After one big stuff up that left his integrity in ruins, I’ve made a couple of other missteps along the way that have destroyed what was left of his goodwill.
The stuff up happened when I was young, naive and just starting to dabble in cookery. I poured dissolved gelatine into a bowl of cheesecake mix, got distracted as I am wont to do, and came back to a congealed lump.
Dad suggested I put the whole thing in the blender, so I did, then poured the now silky mixture into the tin ignorantly thinking all would be fine.

But when it came time to lift the ring off the tin, a great avalanche of sweet lava oozed out in every possible direction. Pink, oozy cheesecake seeped it’s way across my friend’s kitchen bench (oh yes, this was a birthday cake), engulfing cutlery, letters and anything else in it’s path.
The Psycho strings playing in the background is the only thing that would have made this sight more horrifying.
As it turns out, blending the mix only served to break up the lumps, the gelatine needed to be redissolved in order to do it’s thing. Who knew?!
I learnt a valuable lesson that day — don’t take culinary advice from my dad.
After this incident there was a Jelly Slice Mishap and Jelly Shot Debacle that saw me pretty much give gelatine permission to shun me forever.
But I came crawling back, begging for forgiveness so I could have the chance to make this dreamy berry cheesecake. I wasn’t pushing my luck, I didn’t need his help for the tricky midsection, only the berry jelly topping. Was it too much to ask?

Apparently, yes.
The sloppy layer that I ended up with says it all. As much as I love and respect gelatine, we’re just not meant to be.
This is a slightly modified version of a recipe from Ela Gale’s YouTube Channel. You should check her out, her voice sounds like rainbows.
Preface: A Royal Soaking
About 2 hours before you actually plan on making the cheesecake (I know, forward planning isn’t my strong point either) you need to soak your cashews for the cheesecake filling.
To do this, just throw 1 cup of cashews into a bowl, cover with water and let them sit until you’re ready to start the recipe for real.

Chapter 1: Turn Up the Base
Throw into a blender 3/4 cup oats, 1 cup of cashews, 8 medjool dates (de-pipped), 1 tablespoon of maple syrup and 2 tablespoons of coconut oil.

Pulse a couple of times to get everything moving then blitz that baby up until all the bits and pieces look well combined and clumpy. Stop the processor, unplug the processor then stick your hand in there and press the mixture into the side of the bowl. If it clumps and sticks together you’re good to go!

Pour the mixture into the bottom of a lined ring tin then spread it all out, pressing it all down firmly with a spoon or your fingers. Into the fridge she goes!

Chapter 2: Stuck in the Middle With You
Drain off the cashews you’ve diligently been soaking then throw them into your food processor with a can of coconut cream, 1 teaspoon of vanilla essence, 4 tablespoons of maple syrup and the juice of 1 lemon.

Blitz it up for as long as you can stand it or until it becomes nice and smooth. You might still have a few tiny lumps of cashew that you can’t get rid of, I always do, but don’t worry they sink to the bottom in the tin and just blend into the base.

Pour your filling onto your base and pop it into the freezer for 2 hours.

Chapter 3: The Gelatine Incident
Now we come to the part of the story where my old friend gelatine (well, to be honest I actually used the veggie version Jel-It-In but same diff).
Following Ela’s soothing instructions, I poured 2 cups of frozen berries, 1 tablespoon of maple syrup and 1 packet of gelatine into a pot. On a medium heat, I warmed up the mixture and popped the berries to make a nice coulis type concoction.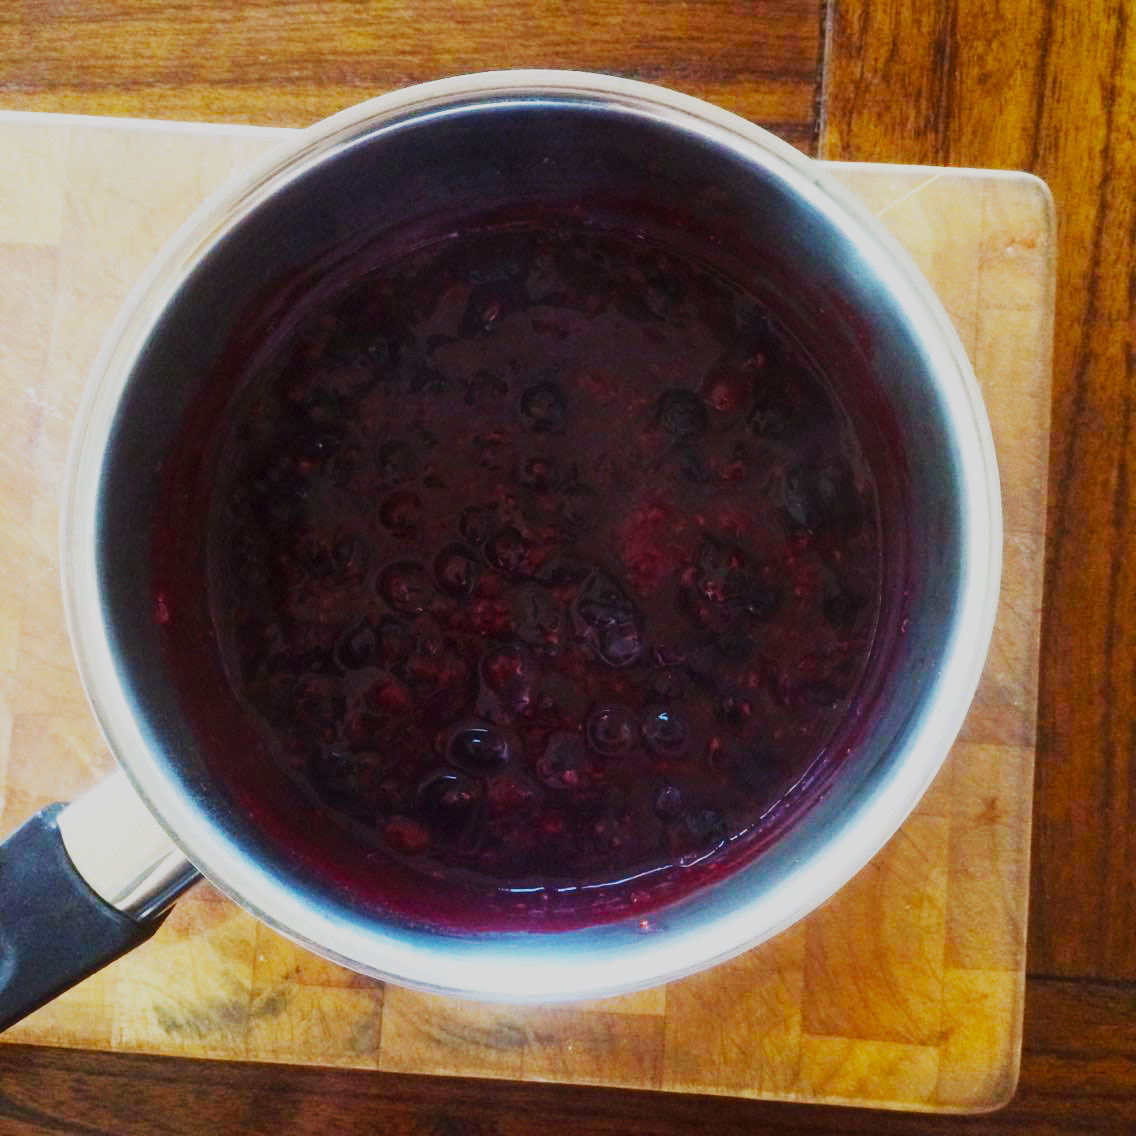
Ela used agar agar, so she’s definitely not to blame for my mishap.
But once I had cooled the berry mixture down, I grabbed the cheesecake from the freezer and started pouring it on top. It looked pretty runny, but I was just happy it hadn’t set hard in the pot like the first time I tried this recipe.
I kept my cool and spread the jelly across the whole cake then put it back into the freezer to set (this should take around 4 hours by the way).

Afterwards I transferred it to the fridge so I could take some pretty pictures in the morning sunshine.
Everything looked pretty good when I took it out in the morning. It even kept it’s shape when I took the ring tin off.
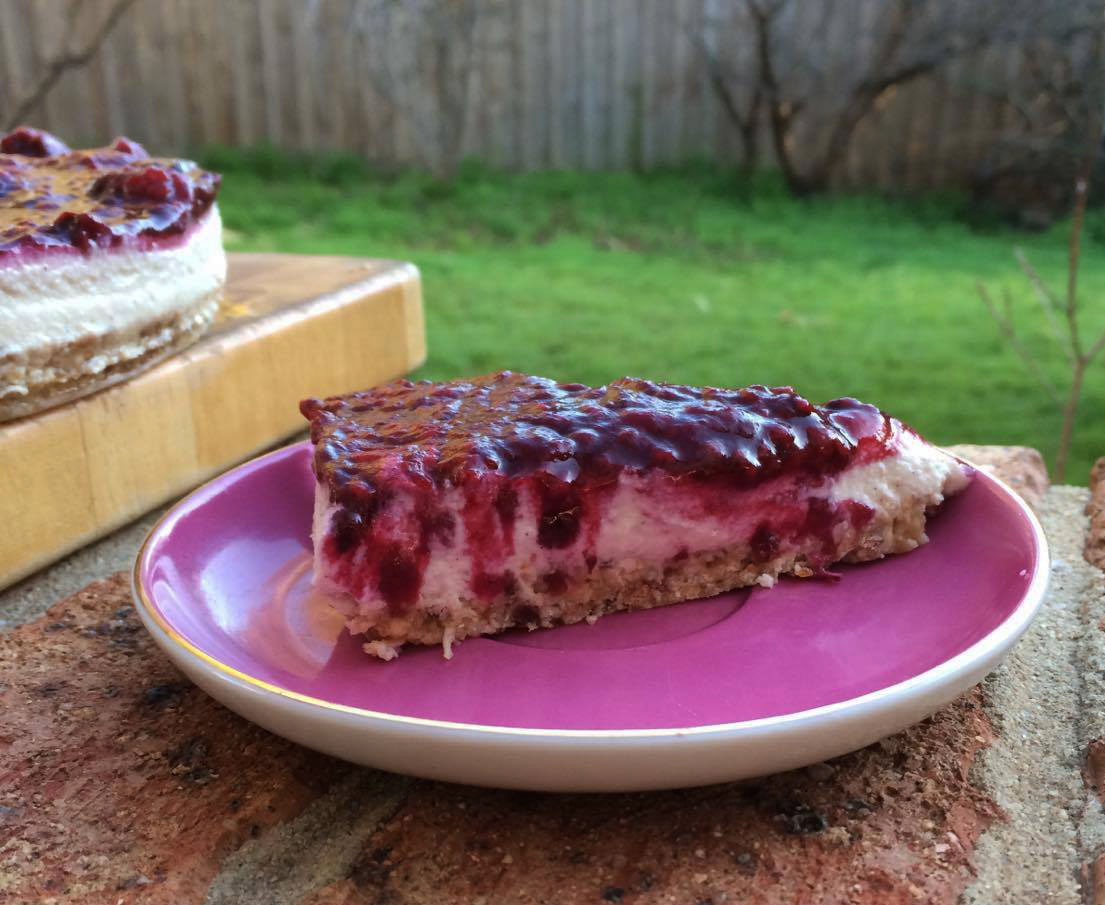
But when I cut into it the ‘jelly’ it started to slowly seep everywhere like blood in a bad horror movie. Bits of berry had sunk through the cheese layer and slippage left murderous streaks wherever my knife dared to cut.
So I did what any self-respecting cook does and just renamed it.
Introducing my berry swirl cashew cheesecake!
Taste > presentation
I assure you.
Here’s a picture of the true carnage, for the sake of full disclosure:
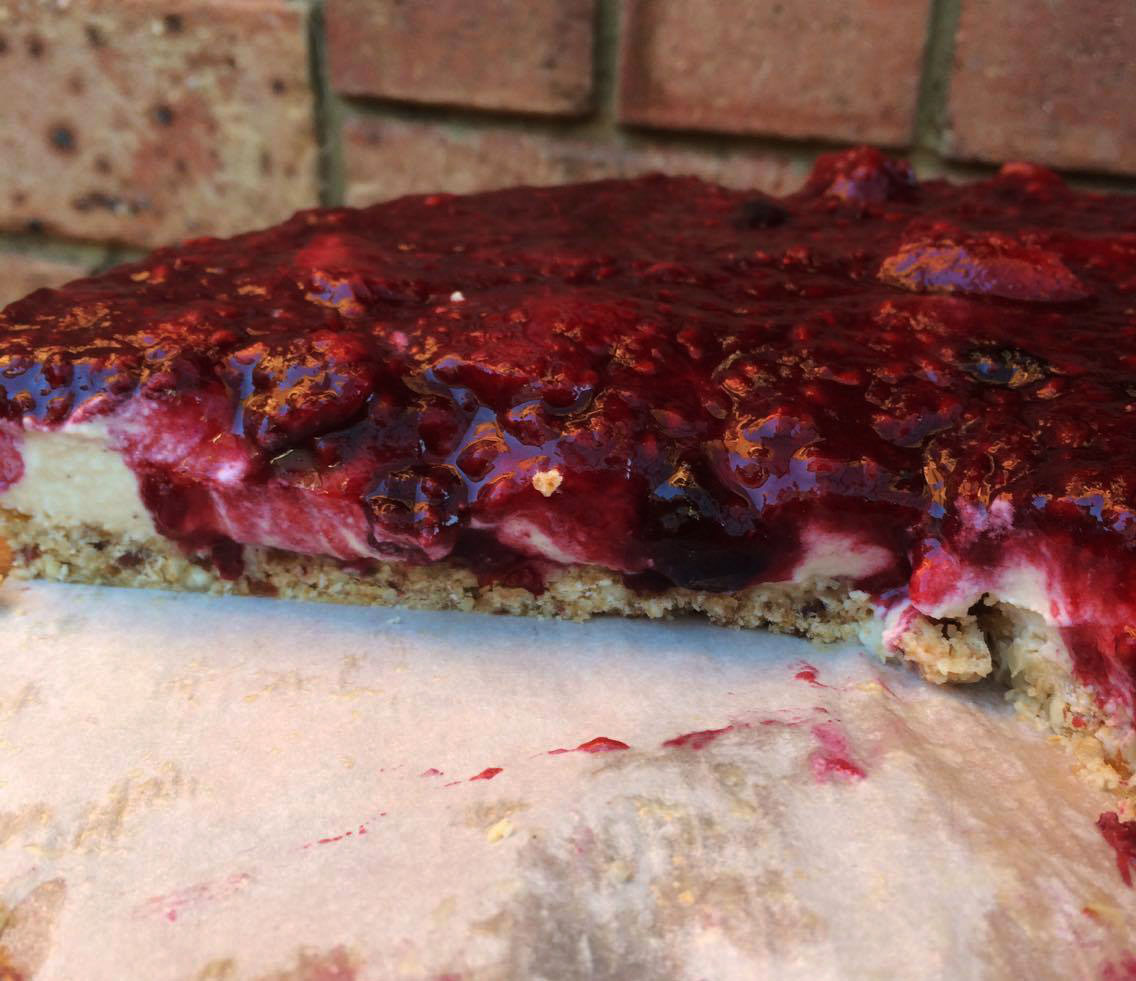
Gelatine – 4
Elyse – 0
Recipe
(Modified so you don’t repeat my mistakes)
Ingredients
Base:
3/4 cup oats
1 cup cashews
8 medjool dates, de-pipped
2 TBS coconut oil
Filling:
1 cup cashews
400mL can coconut cream (full cream is best)
4 TBS maple syrup
1 TSP vanilla extract
1 lemon, juiced
Topping:
2 cups frozen berries
1 TBS maple syrup
2 sachets Jel-It-In (or any other wobble-inducing ingredient you like)
Method
- Put the 1 cup of cashews for your filling into a bowl and cover with water. Leave them to sit for around 2 hours.
- When your filling cashews have finished soaking, you can start on the base. Just throw all the base ingredients into a blender and blitz them up until well combined. Test the consistency by pressing some of the mixture to the side of the processor bowl (make sure it’s turned off). If it clumps together and sticks it’s good to go.
- Pour the base mixture into the bottom of a lined ring tin. Even out and press down firmly with a spoon or your fingers.
- Put the base into the fridge while you work on the filling.
- For the filling, drain your soaked cashews and throw them into your food processor with all the other filling ingredients. Blitz them up for as long as you can until the mixture is silky and smooth. You might still have a couple of tiny cashew lumps but don’t worry, the base masks it.
- Take the base out of the fridge and pour on the filling, it doesn’t matter if the base hasn’t been in for long.
- Put the cheesecake into the freezer for 2 hours.
- After the 2 hours is up, start on your jelly topping. Throw the berries and maple syrup into a pot then put on medium heat on the stove.
- Heat slowly and when the berries start to melt, squish them with your spoon.
- When the berries are all popped and the mixture looks thick, take off the heat and stir in the Jel-It-In. Leave it to cool down.
- Grab your cheesecake from the freezer and pour over the cooled jelly.
- Put the cheesecake back in the freezer for around 4 hours to set.
- Best served on a pretty plate. If there’s any cake leftover after the first serve, it’s fine to be kept in the fridge.

