Building egg baskets out of spotty, pastel paper and sticking cotton buds on bunny ears are rites of passage for little tackers at Easter time. But when you’re over the age of 13 and don’t have kids, it can be a little harder to justify your love of Easter art and craft. For those of us feeling the pinch, homemade Easter eggs are our saving grace. They are an excuse to whip out the good scissors and get pedantic about colouring inside the lines. Best of all, you can show Mr Cadbury who’s boss by making them all year round instead of suffering eggprivation (sorry, had to…what’s Easter without a pun?) for months on end.
As an homage to my cocoa hero, Pana Chocolate, I thought I would try and recreate their so evil but so delicious Caramel Lava Eggs. Which for the record, look like this….

Mine do not look or, if I’m being honest, taste like this but they’re still pretty darn delicious, so stick with me. I mushed together a few recipes, but mainly based the chocolate on this recipe from the I Quit Sugar (thanks for the tip, Dayna) and Donna Hay’s Raw Caramel Slice. As per usual the plain Jane instructions are at the end, after my ramblings.
Before you even step into the kitchen, buy some egg moulds. I bought mine from Let’s Cook &, but anything you find online will be fine. Get any size your heart desires, I went for big and bold but that probably wasn’t the smartest decision I’ve ever made. These babies are pretty rich!
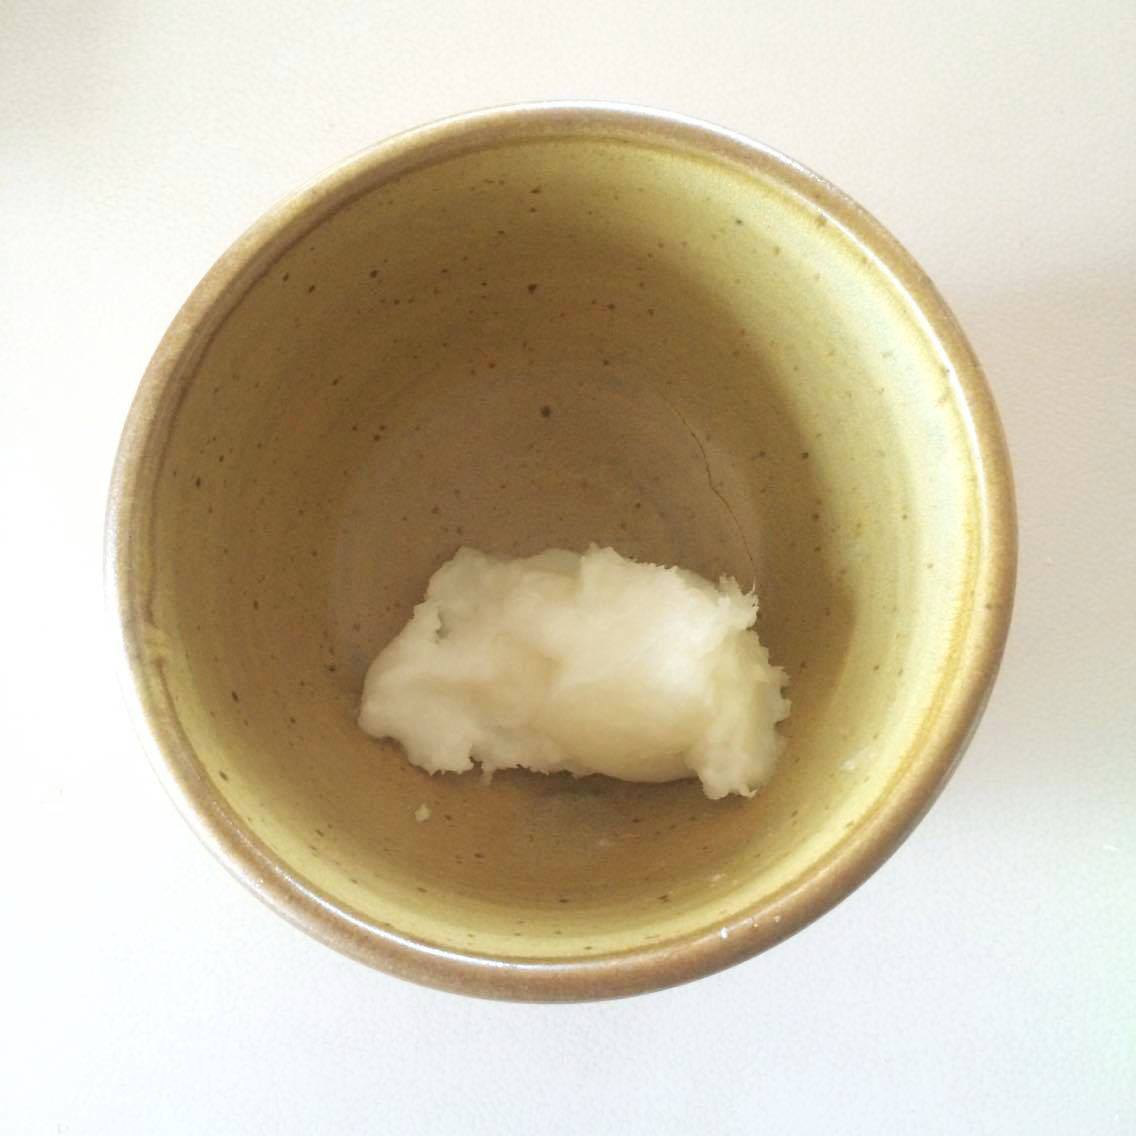
First up, measure out 1/2 cup coconut oil and plonk it into a bowl. If it looks like a snowball, zap it in the microwave for around 20 seconds to melt it.
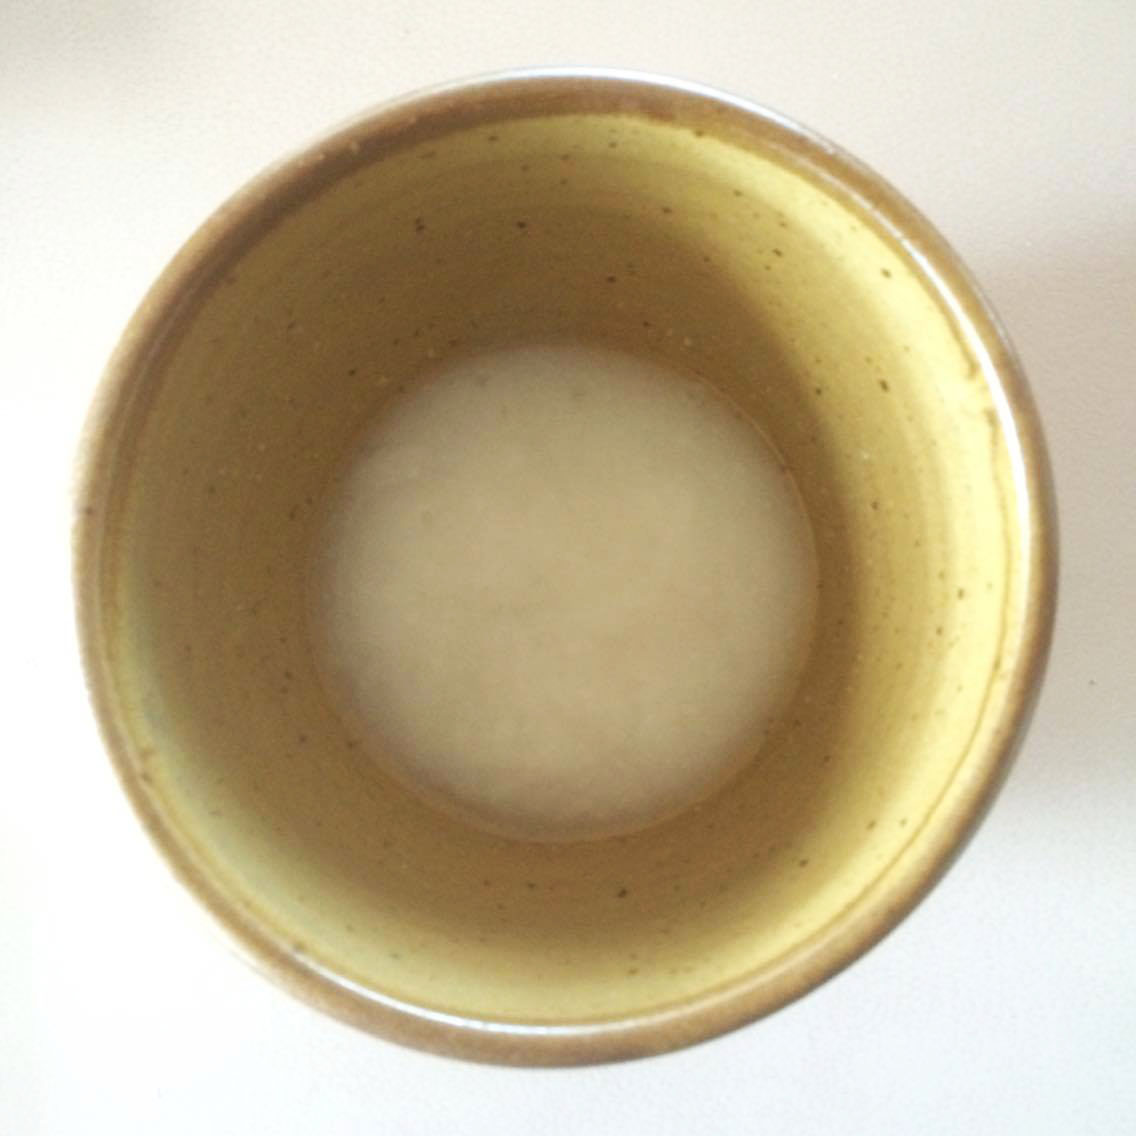
Mix in 1/3 cup raw cacao powder then add 2 tablespoons of rice malt syrup. Once it’s combined, dip your pinky into the mixture and give it a taste. Sprinkle in some more cacao if you like your chocolate dark and rich, or some more rice malt syrup if you’re on the sweeter end of the spectrum.

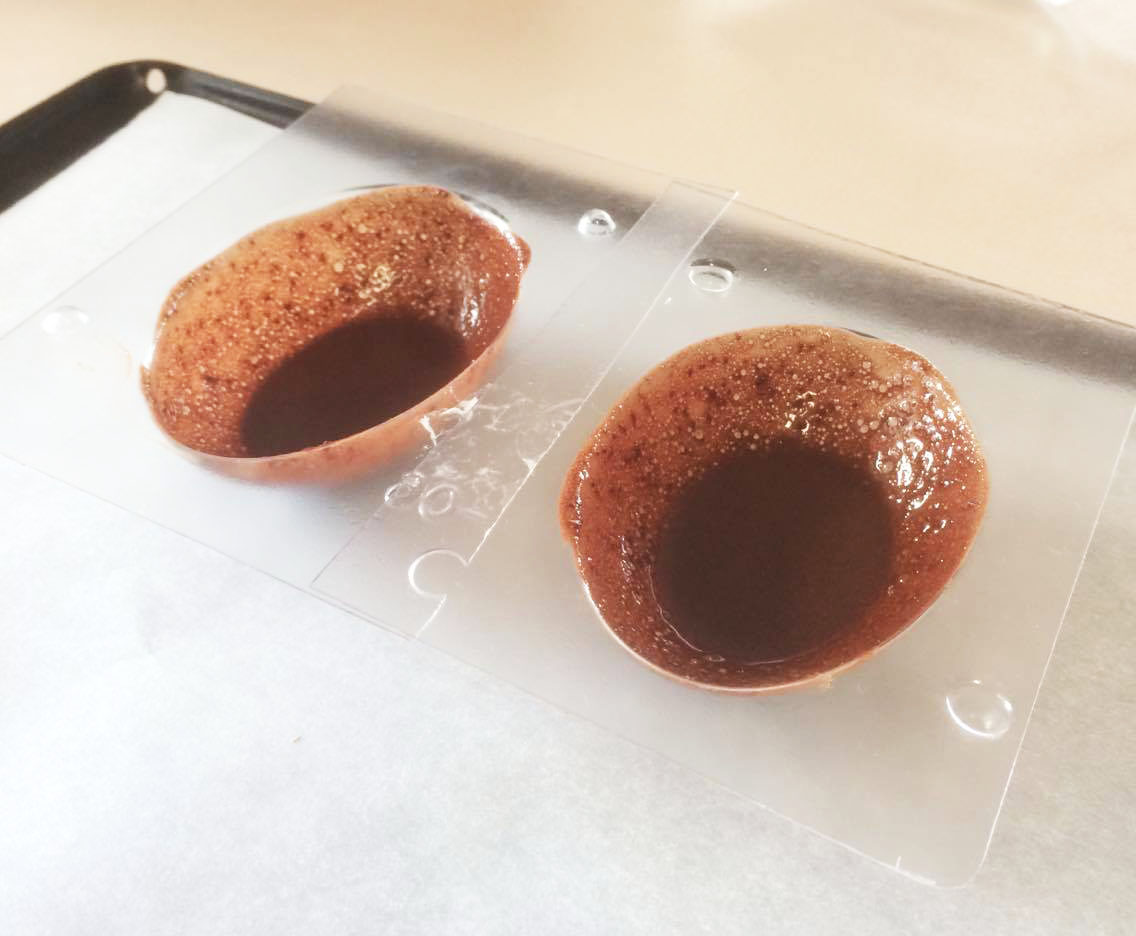
Next, pour a couple of spoonfuls of the mixture into each egg mould. Be sure to use up only about a third of the mixture. Swirl it around the mould so you get a nice chocolate coating over the whole indent. Yep, it doesn’t really like sticking to the plastic but don’t worry, there’s a phase 2. Just pop them in the fridge for around 10 minutes.

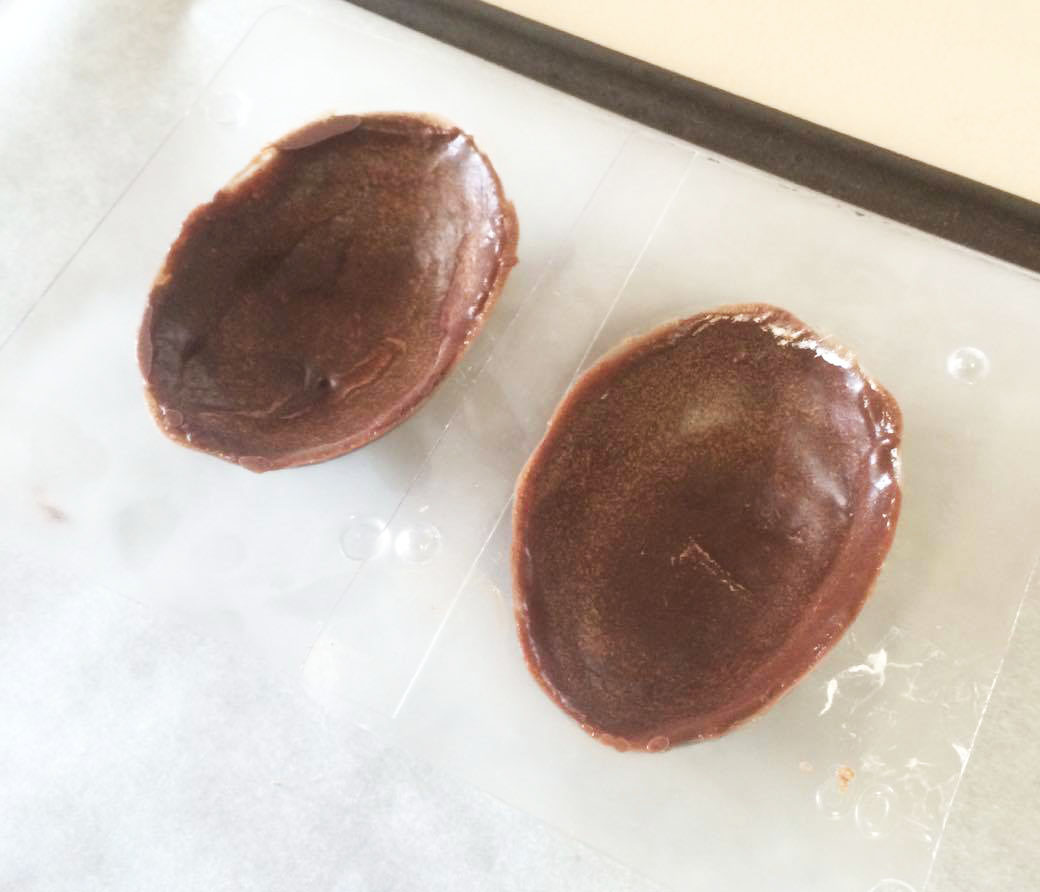
Time for phase 2. Grab the moulds out of the fridge and pour some more chocolate into each one. You’ll notice that the mixture likes to stick to itself much more than the plastic. Use a teaspoon to spread the chocolate around the edges of the mould until it’s about 0.5cm thick. Then pop them back in the fridge for another 10 minutes.
While the chocolate is in the fridge, we’re going to be super organised and get moving with the caramel. Grab out your food processor and plop in all your caramel ingredients. That’s 5 large medjool dates, 3 tablespoons of smooth peanut butter, 1 tablespoon of maple syrup, 1/2 a teaspoon of vanilla essence, a pinch of salt and a tablespoon of water.
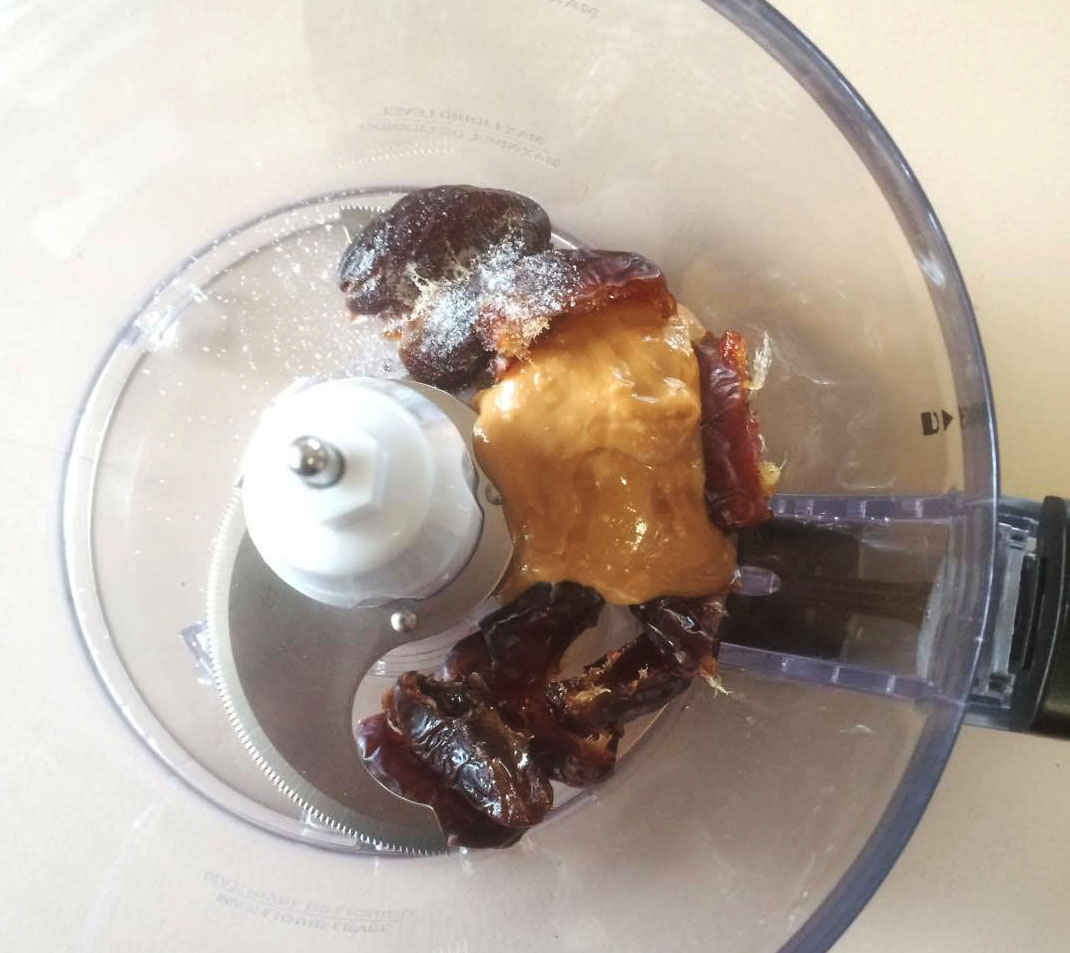
Pulse the food processor a couple of times to get things going then blitz that baby up and watch the magic happen. If the mixture is looking a little too chunky, add some more water. You should end up with a consistency that looks like the lovechild of honey and peanut butter.

By this time your chocolate should be set, so grab the moulds out of the freezer and lay them on the bench. Spoon a teaspoon and a half of caramel (only a teaspoon if you’re using smaller moulds) into each mould and spread it out flat.

Then spoon some more chocolate over the top of the caramel and gently spread it out so no caramel can be seen. Ensure the chocolate is level with the top of the mould.

Now for the flip. Hold one half-egg mould in each hand then whilst being alert not alarmed, squish both sides together to make one beautiful, complete egg. My moulds had little press studs around the outside to secure them in place, but if yours don’t then maybe use an elastic band to hold them together.

This time, place your eggs in the freezer to set. This will ensure they harden into a scrumptious chocolate consistency instead of remaining an oozy mess. To be on the safe side, keep them in the freezer for around an hour before trying to unmould them. They should slip straight out of the moulds because they’re mostly made of coconut oil. But if you do struggle, use your hand to warm them up a bit. I wouldn’t use hot water because it’ll melt the eggs too much and they’ll be super gooey when you turn them out.

And voila! Decadent, Easter eggs that satisfy your chocolate cravings as well as your affinity for arts and crafts. For extra crafty goodness, feel free to decorate the eggs with white chocolate, lollies or anything else that takes your fancy. If by some weird twist of fate you don’t happen to eat all the eggs in one sitting, they keep fine in the freezer until you’re ready for another fix.

Okay they don’t look so pretty on the inside, but I pinky promise they deliver on flavour!

Recipe
Ingredients
Chocolate
2 medium or 4 small egg moulds
1/2 cup coconut oil
1/3 cacao powder
2 tablespoons rice malt syrup
Caramel
5 medjool dates
3 tablespoons peanut butter
1 tablespoon maple syrup
1/2 teaspoon vanilla essence
1 tablespoon water
pinch of salt
Method
- Place coconut oil in a mixing bowl and zap in the microwave for 20 seconds or until melted.
- Add cacao powder and rice malt syrup to the melted coconut oil and mix until completely combined.
- Put a couple of spoonfuls of chocolate mixture into each egg mould, being careful to use only around a third of the mixture. Swirl the chocolate around so it covers the entire inside of the mould. The mixture will be a bit thin and will drain down but don’t panic, just place them in the fridge for 10 minutes.
- Grab the moulds out of the fridge and divide another third of the chocolate across the moulds. Spread the chocolate up the sides until the layer is around 0.5cm thick. You should find that the chocolate sticks much better to the mould this time. Place back in the fridge for another 10 minutes.
- While the chocolate is setting, place all the ingredients for the caramel into a food processor. Pulse a couple of times then blitz until the mixture looks like very thick, sticky peanut butter. If it’s too thick, just add a bit more water.
- Once the caramel is ready, the chocolate should be set. Take the moulds out of the fridge then place a teaspoon and a half of caramel into the bottom of each mould. Spread the caramel out evenly across the bottom of the egg.
- Spread the remaining chocolate across the eggs and smooth it out so it sits level with the top of the mould.
- Hold a mould in each hand then press the two sides of the egg together so the chocolate meets in the middle. There may be a bit of chocolate seepage but this can be fixed once the egg is set. If your moulds don’t have press studs or another contraption to hold them in place, just use an elastic band. Then place the eggs in the freezer this time, for around an hour.
- When the eggs are set they should slip out of the moulds pretty easily because the chocolate is mostly coconut oil. If you struggle, use your hand to warm them up a bit. Don’t use hot water because this will melt the chocolate too much.
- Enjoy with a nice cup of tea!

